Shortcode for Player Lockdown
[wp_eStore_APR expiry=0 status=unexpired]
Football PPV
http://place your live event page with player here.com
[/wp_eStore_APR]
Shortcode for Purchase Button
[wp_eStore_buy_now_button id=place your product id here]
HOW TO SET UP PAGES FOR PAY-PER-VIEW
1) Log into WordPress, and click “Pages.”
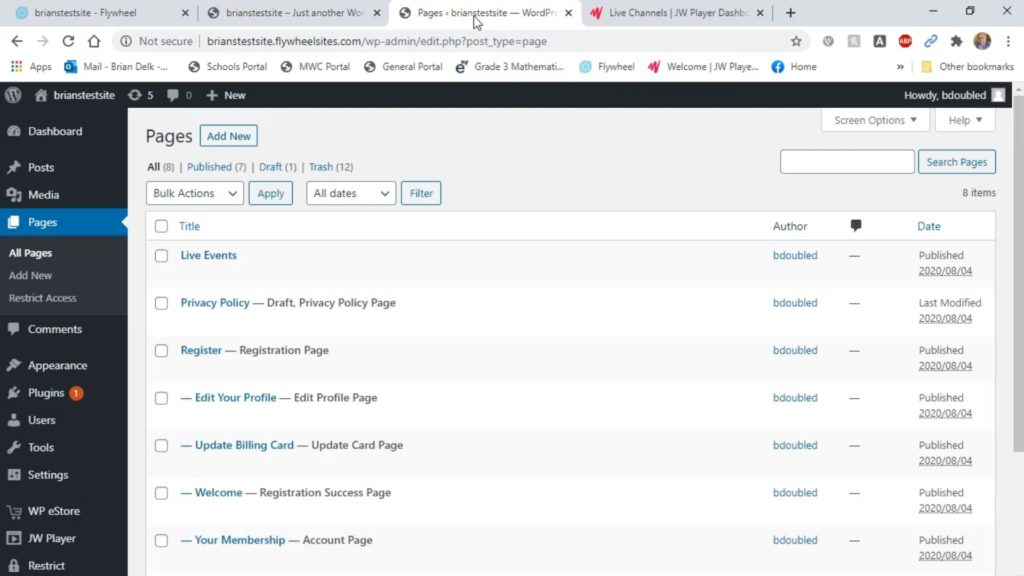
2) Click “Add New” to create a new page. This page will be where customers can purchase the pay-per-view (PPV) livestream on your website.
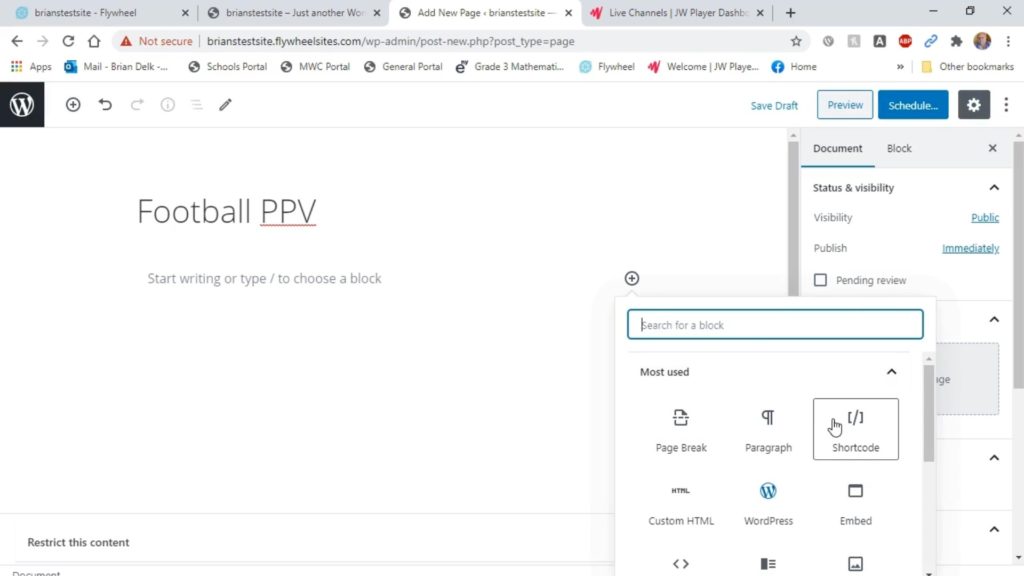
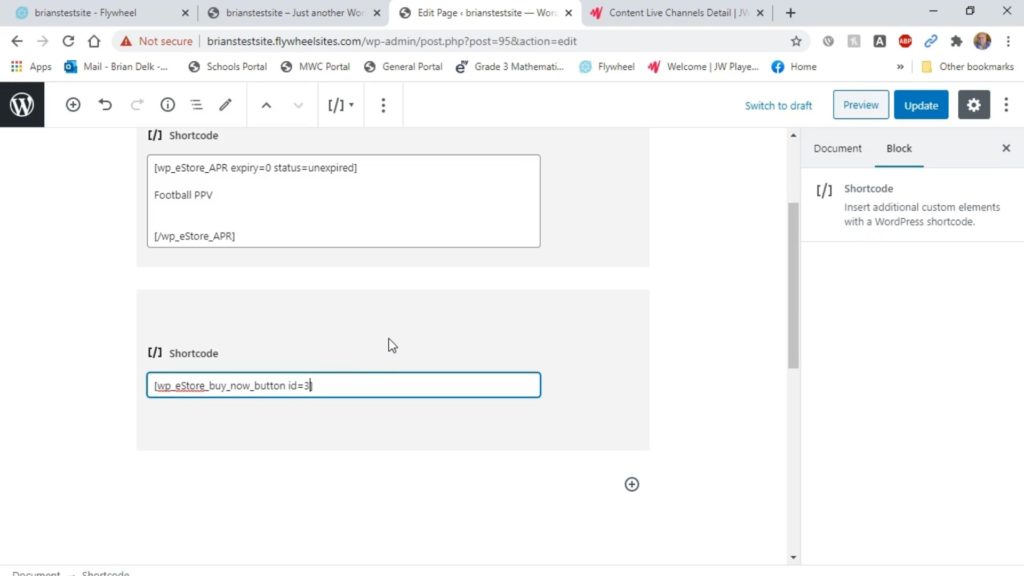
3) On the new page, click the “+” button to pull up the block’s menu > “Widgets” > “Shortcode.”
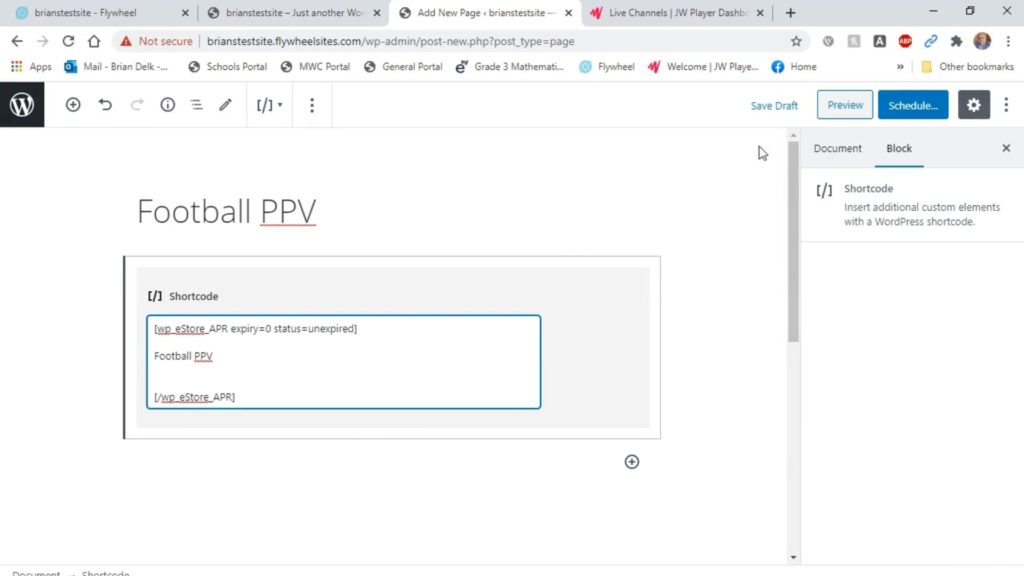
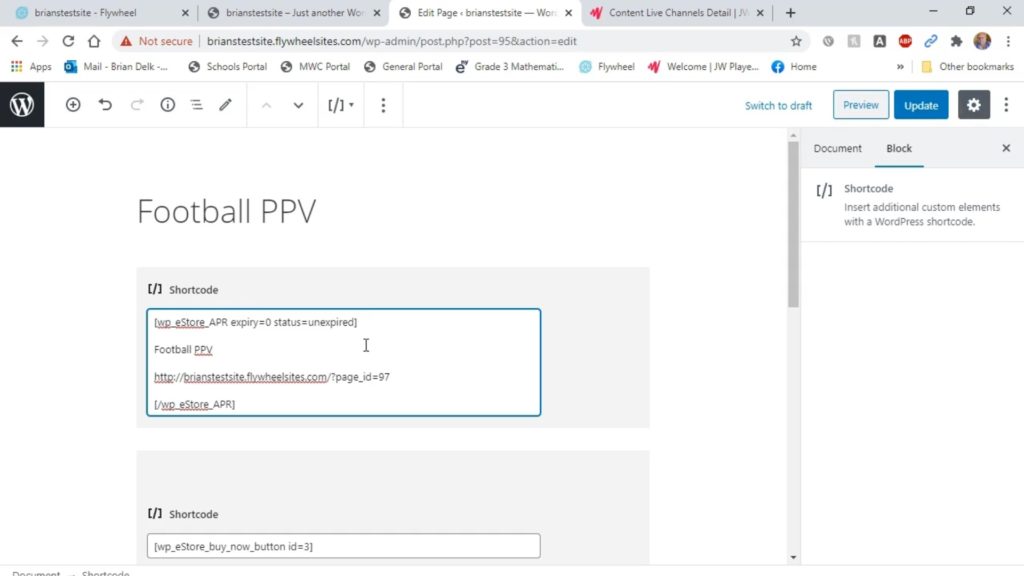
4) Copy the shortcode under “Shortcode for Player Lockdown” at the top of the page and paste it into this block. This Shortcode locks down your content so that viewers must purchase before they may watch the video.
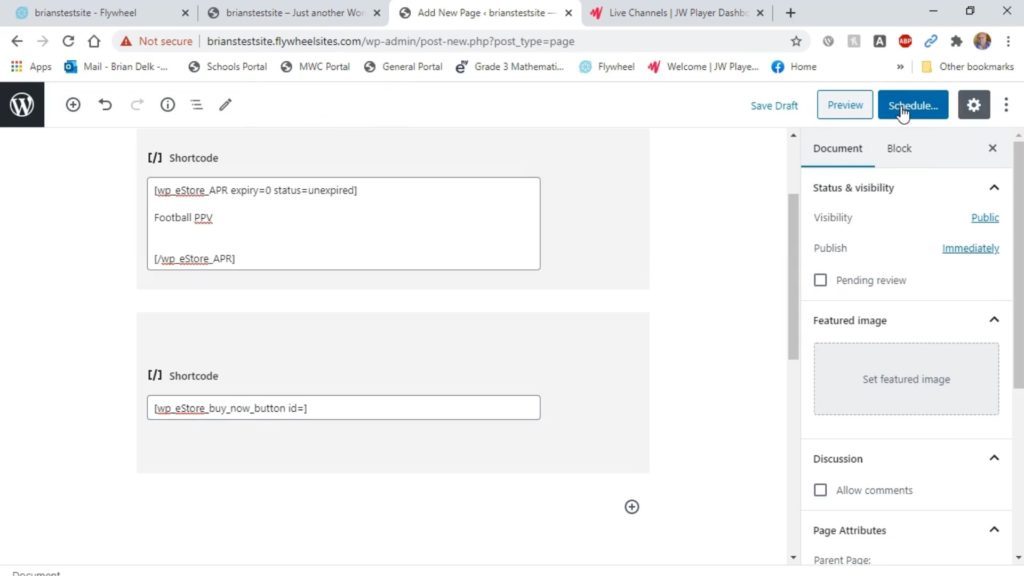
5) Add another Shortcode block. Copy and paste the Shortcode under “Shortcode for Purchase Button” at the top of the page. This is the “Buy Now” button that viewers may click to purchase the video. Save the page.
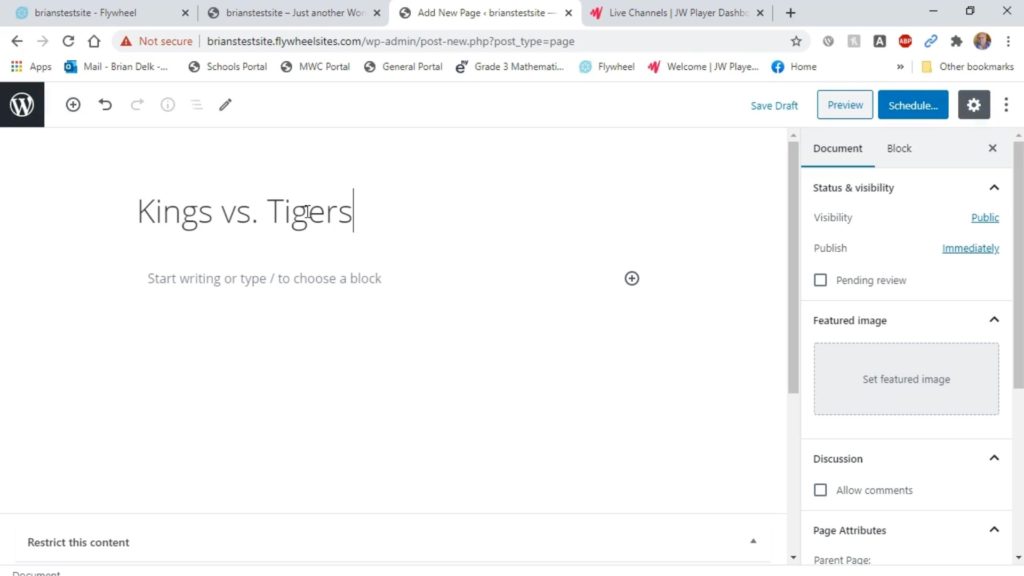
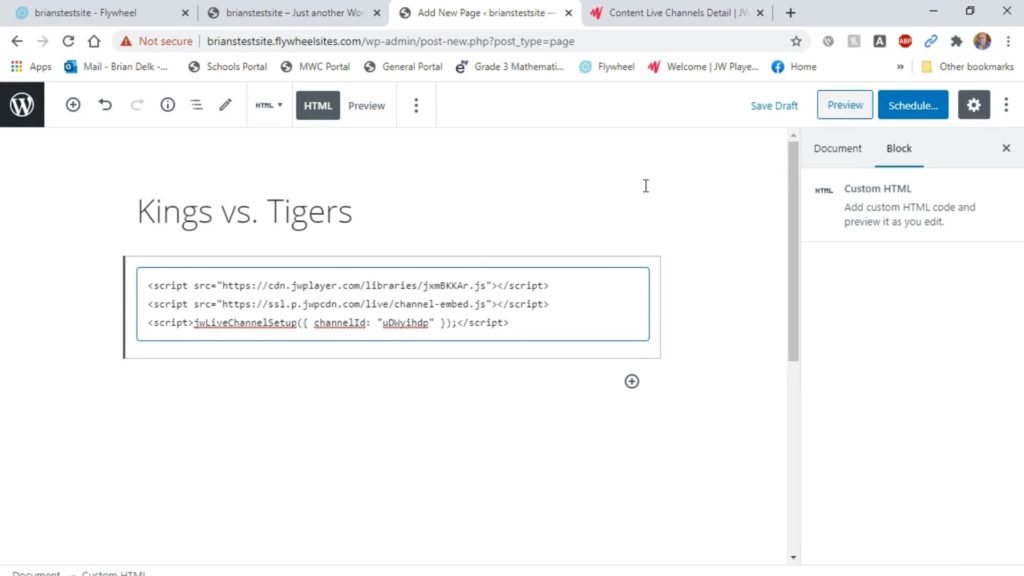
6) The purchase page is finished, so now the page with the video player must be created. Go back to the WordPress dashboard > “Pages” > “Add New.” Title the page according to the event you are livestreaming, then click “Publish” or “Schedule.”
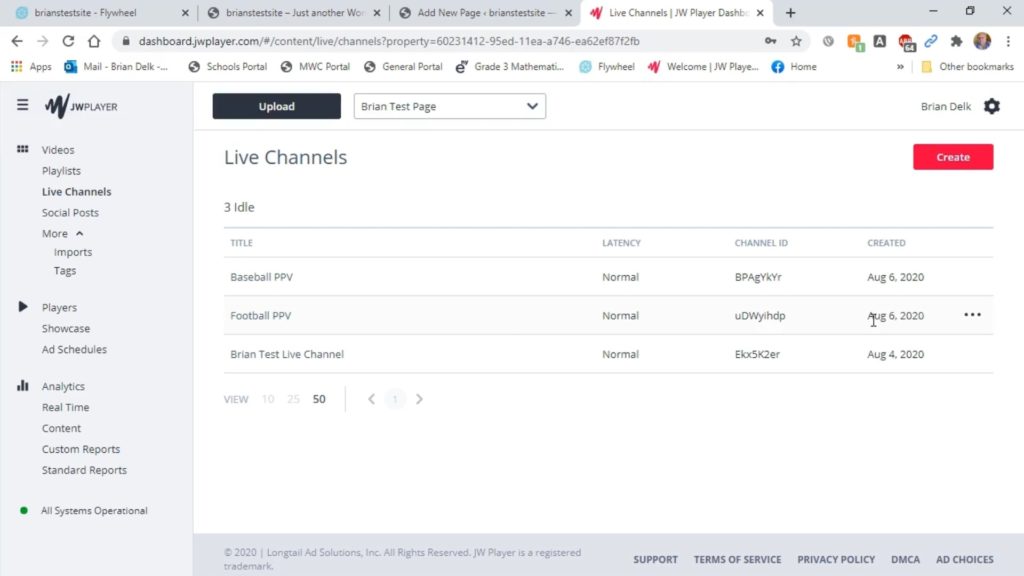
7) Go to JW Player Dashboard, and create a new live channel.
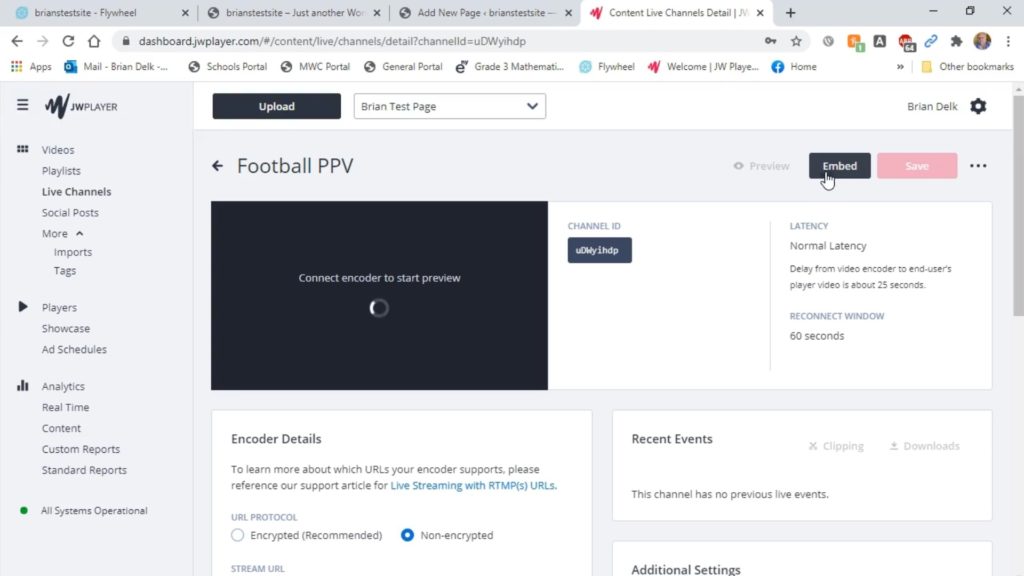
8) The video player needs to be placed in WordPress. To do this, first click “Embed.”
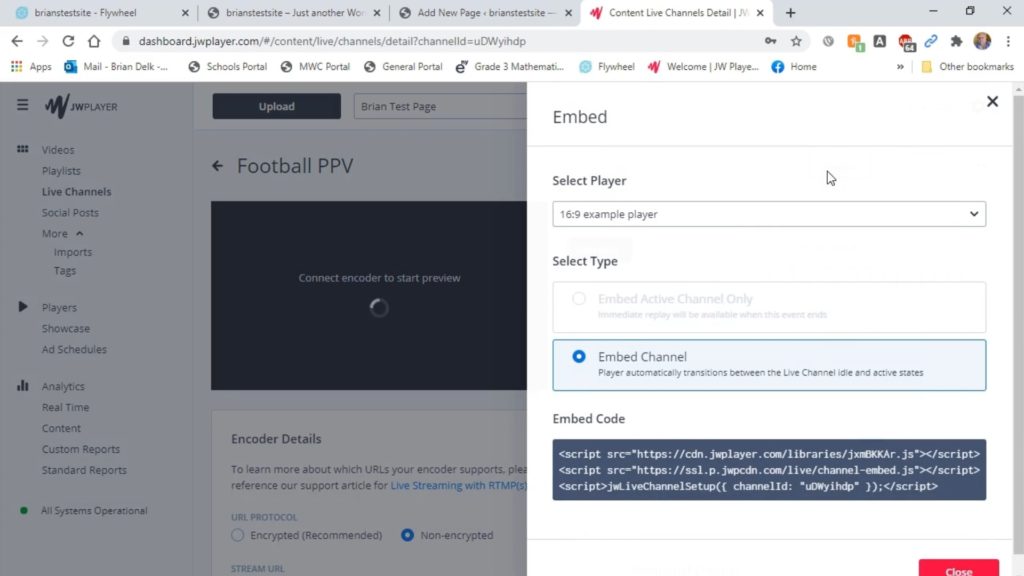
9) Click “Embed Channel,” and copy the embed code.
10) Heading back to WordPress > click the “+” button > “Formatting” > “Custom HTML” > paste the embed code. This puts the video player on this page. Click “Publish” or “Schedule.”
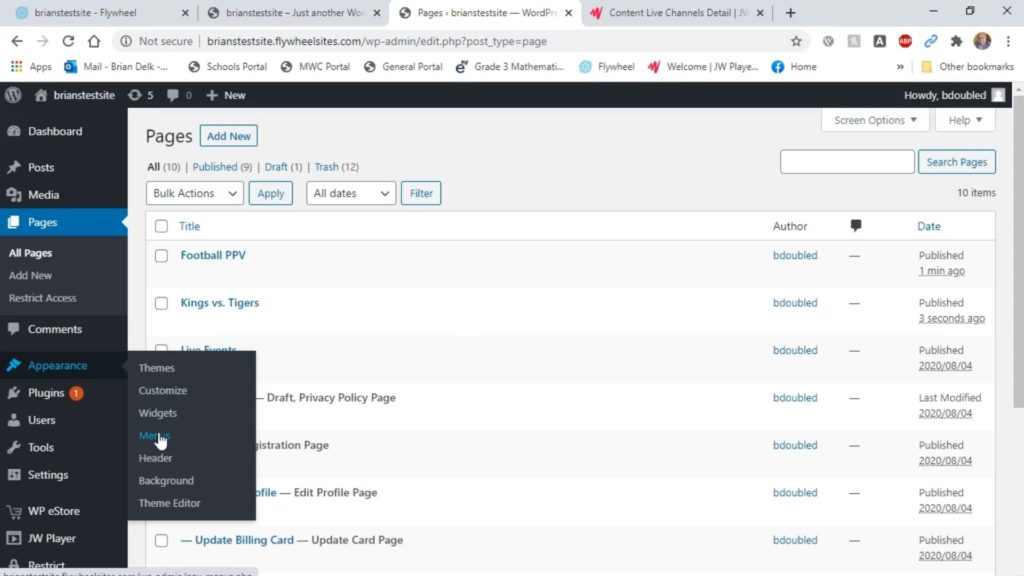
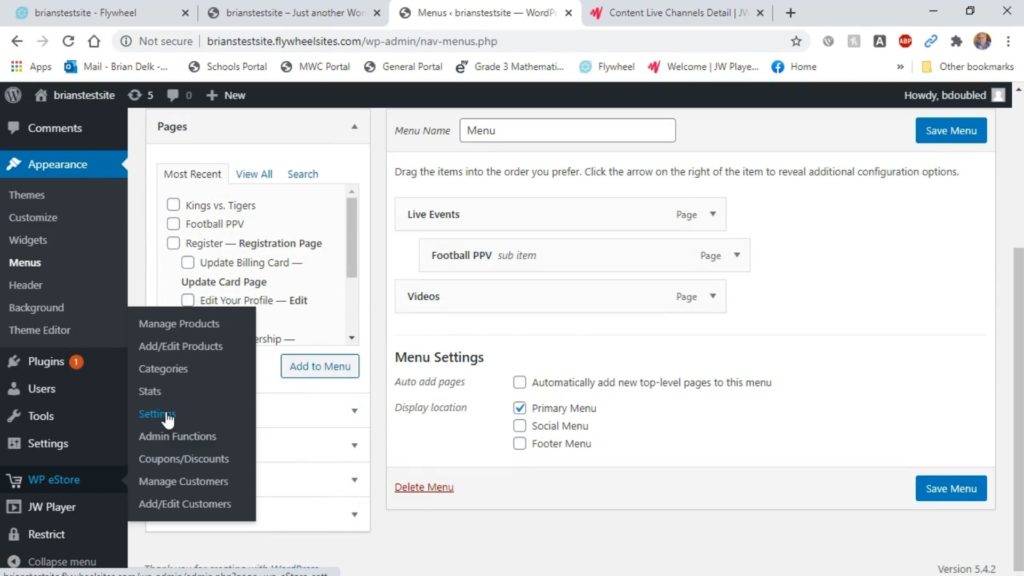
11) The PPV page needs to be added to the menu. In the WordPress dashboard, on the left sidebar, hover over “Appearance,” then click “Menu.”
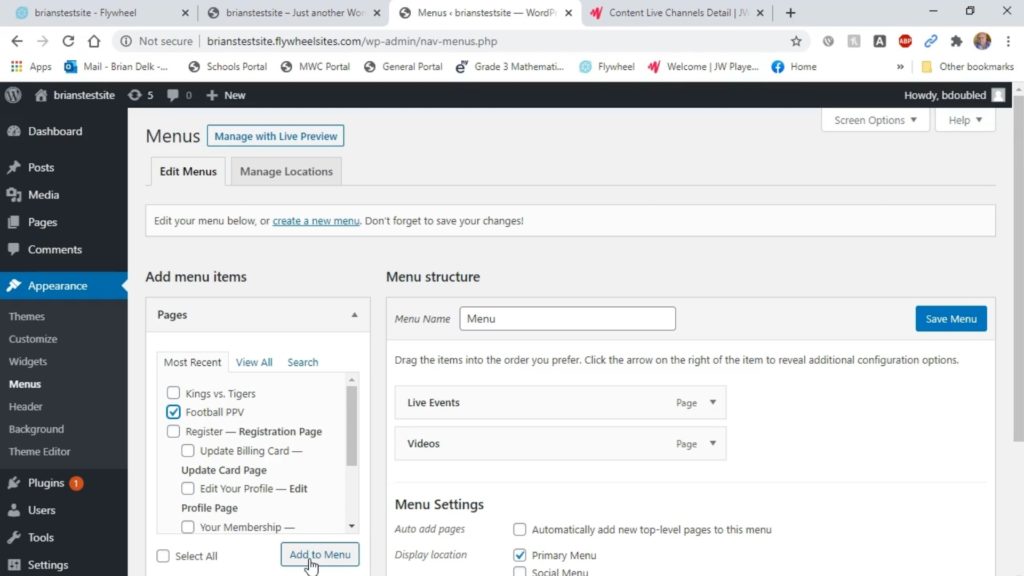
12) Under “Add menu items” on the left of the page, click the checkbox for your PPV page, then click “Add to Menu.”
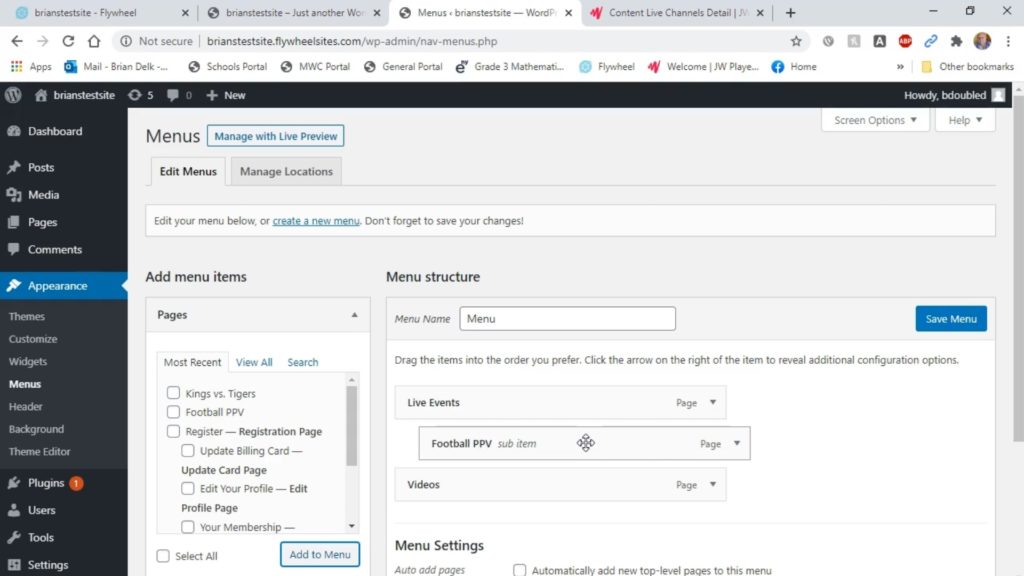
13) Make your PPV page a sub-menu item under your “Live Events” menu item. Click “Save Menu” for the page to be added to the menu.
HOW TO SET UP PRODUCTS FOR PURCHASE
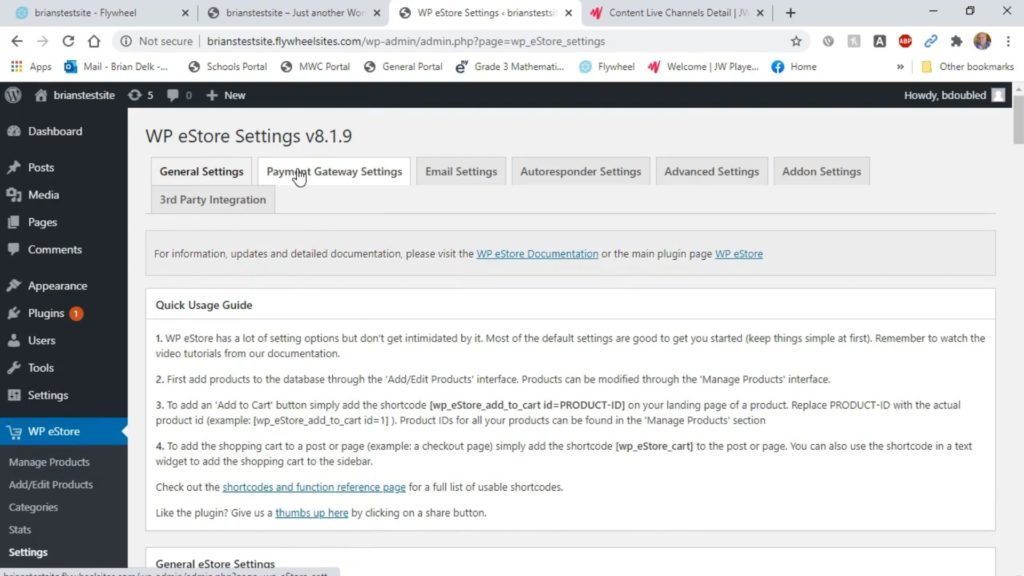
1) In the WordPress dashboard, near the bottom of the left sidebar, hover over “WP eStore,” and click “Settings.”
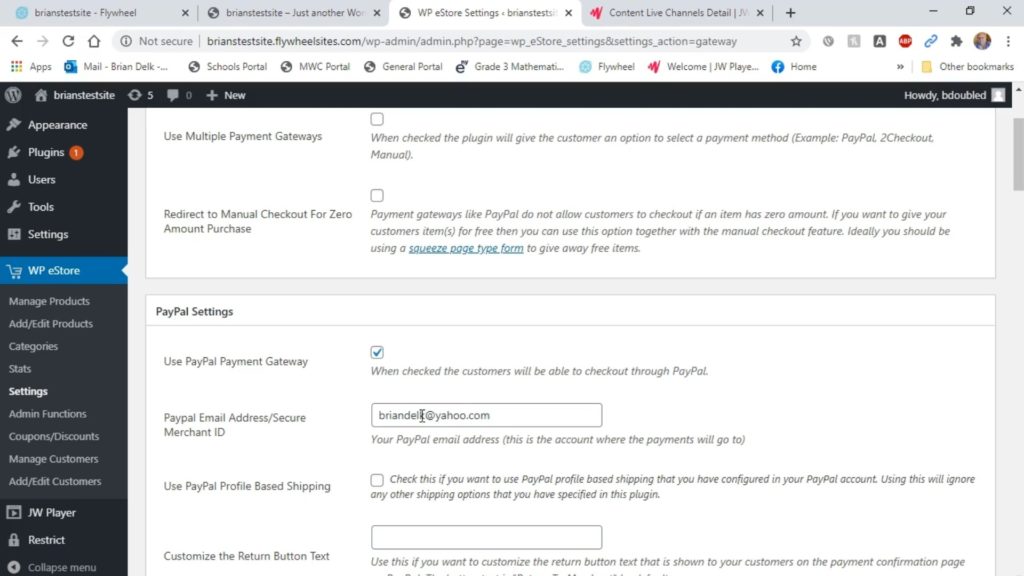
2) Click on “Payment Gateway Settings” at the top.
3) We recommend setting up payment options using PayPal. Under “PayPal Settings,” click the first check box to make PayPal a payment option for customers. Enter the email associated with your PayPal account, then scroll down to the bottom and click “Update.”
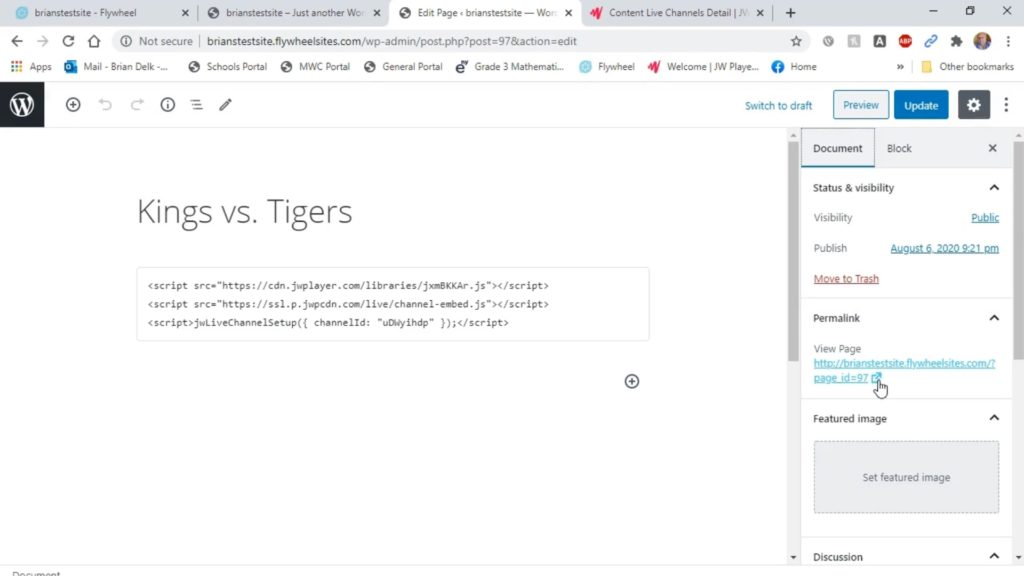
4) The live stream will need to be added as a product in the WP eStore. Before anything else, first go to the page that contains the video player and copy the permalink.
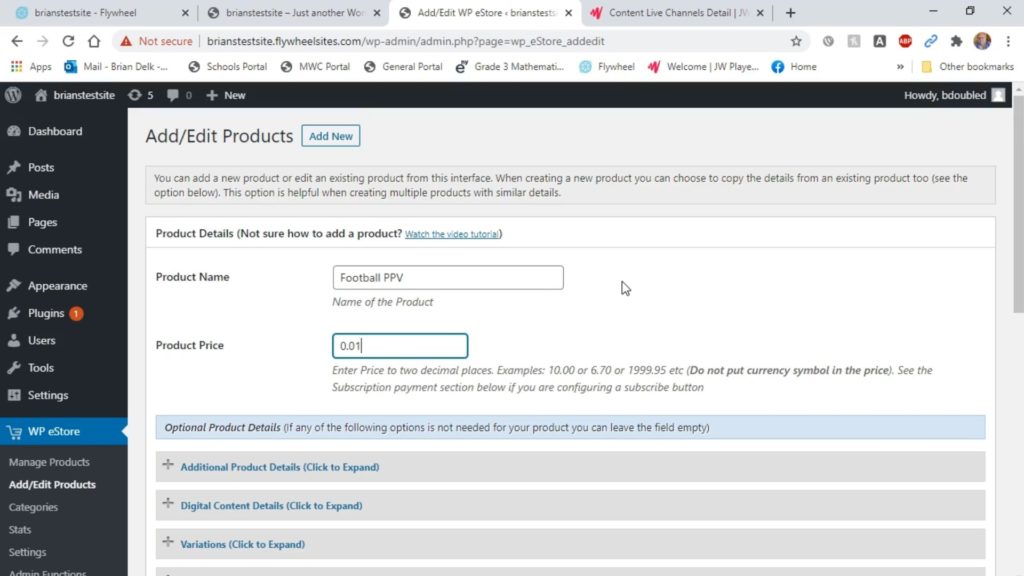
5) Back on the WordPress Dashboard, near the bottom of the left sidebar, hover over “Wp eStore,” and click “Add/Edit Products.”
6) Provide a name and a price for the product.
7) Scroll down and click on “Digital Content Details.” Under the first option “Digital Product URL,” paste the permalink you copied.

8) To secure the live event, you must replace “ht” at the beginning of the link with “apr.” You want it to appear as “aprtp://” rather than “http://” for the link.
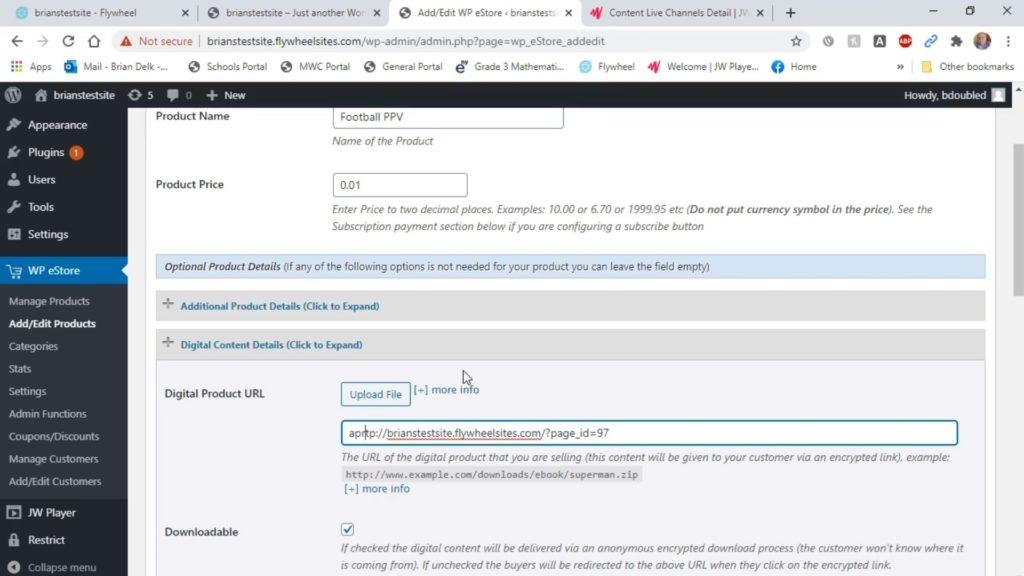
9) If you’re making a product for a live event, uncheck “Downloadable” because customers will be emailed the link you just pasted.
10) “Duration of Download Link” and “Download Limit Count” is completely up to you. If you prefer, you can set it to where your customers only have access to the purchased link for a set amount of time, such as 24 hours. You can also set it to where customers can only click on the link a set amount of times, such as 2 clicks, which may help reduce the chances of the purchased link being shared.
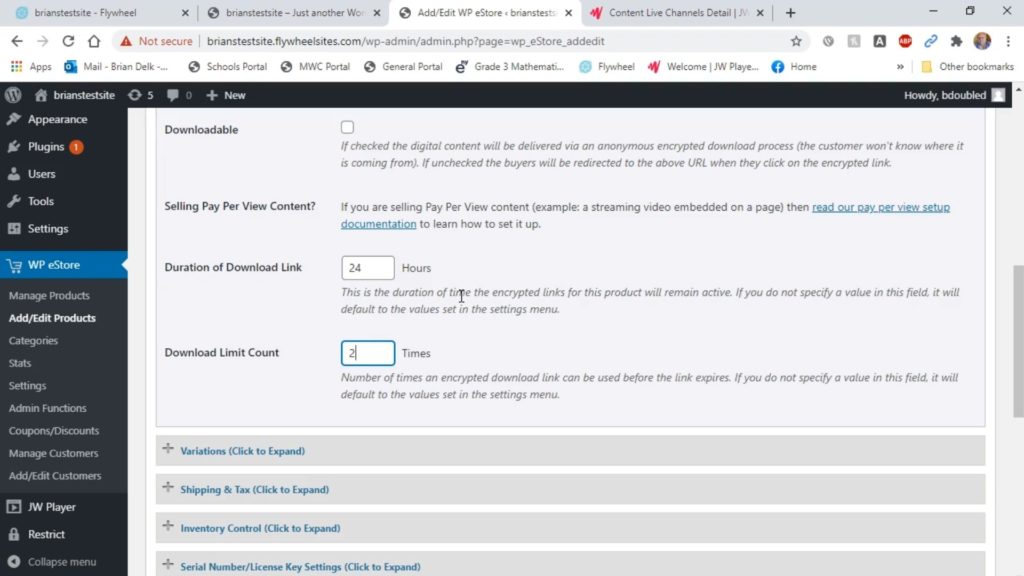
11) Once you are finished, scroll down to the bottom and click “Save Product.”
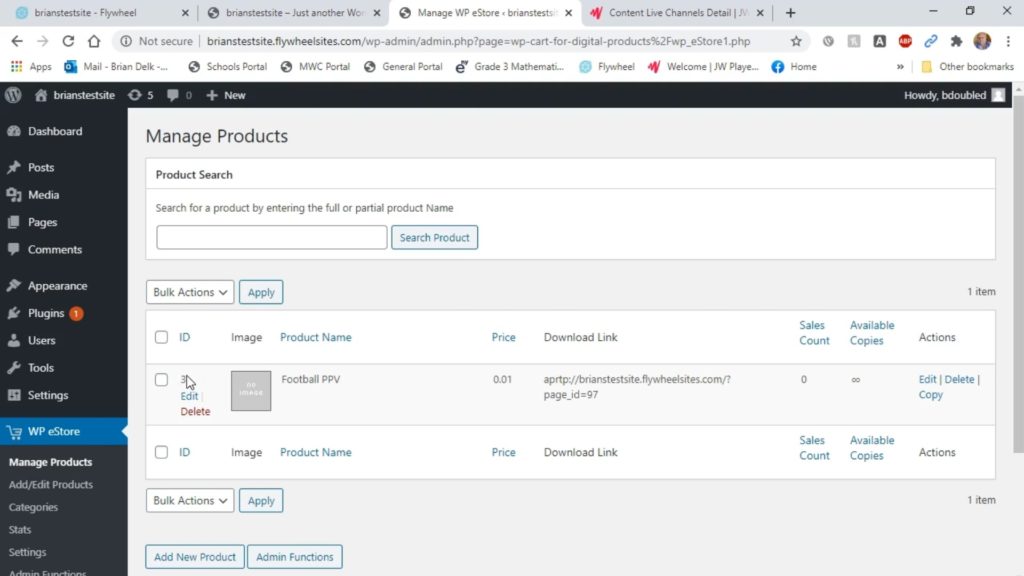
12) Under “WP eStore,” click on “Manage Products.” This will provide the list of all your products. Take note of your product’s ID number. The ID number is needed to display your product on the pay-per-view page.
13) To place a product on your PPV page, you will need the product’s ID number and the permalink of the page with the video player. Unless you copied and pasted again, you should still have the permalink to the video player page copied.
14) Go to your PPV page with the Shortcodes. Input the ID number into the second Shortcode block right after “id=” to connect your product to the “Buy Now” button.
15) Paste the permalink into the first Shortcode block under the title within the block, then click “Update” to update the page.
Now the video player is secured, the “Buy Now” button is connected to the payment system, and customers will receive an email with the link to the live event.
If a duration is set, the link will be available until the timeframe is reached. If a specific number of clicks is set, once all clicks have been used, the link will direct viewers to a page to inform them that the video is unavailable.
If you need any technical support, please call us at 877-457-5826, or email us at support@esenetworks.com, and we will be more than happy to assist you.